PN100

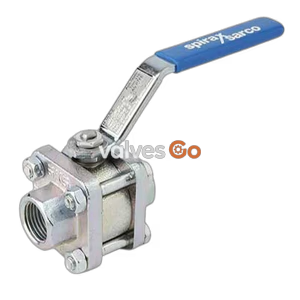
BURKERT 773813 (Type 2654) is a 2/2-way, 3-piece stainless steel ball valve with a DN 20 welded connection, PTFE seals, and ISO 5211 flange.
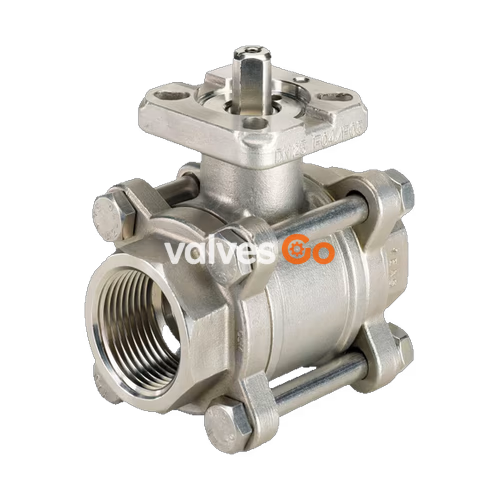
BURKERT 773813 (Type 2654) is a 2/2-way, 3-piece stainless steel ball valve designed for separating medium flows in a wide range of industrial applications. It features a DN 20 welded connection and is constructed from high-quality stainless steel 1.4435 (316L - CF3M) with PTFE seals. The valve is equipped with a mechanical interface according to ISO 5211, allowing for easy installation of a pneumatic or electric rotary actuator.
Key benefits include low torques, high flow values (straight through bore), high medium pressure tolerance, long service life, and a maintenance-friendly design. It is particularly suitable for application conditions with high thermal loads or aggressive media.

| Feature | Description |
|---|---|
| Seal Material | PTFE (ball seal), FKM (actuator stem seal) |
| Body / Ball Material | Stainless steel 1.4435 (316L - CF3M) |
| Nominal Diameter | DN 20 |
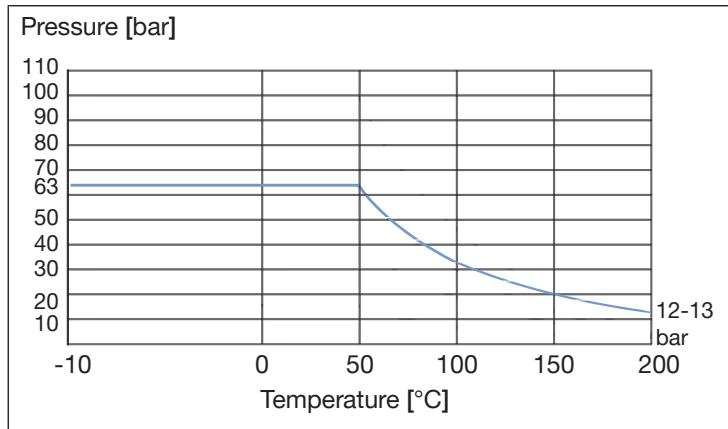
| Medium Temperature | -10 °C to 200 °C |
| Actuator-side Interface | According to EN ISO 5211 |
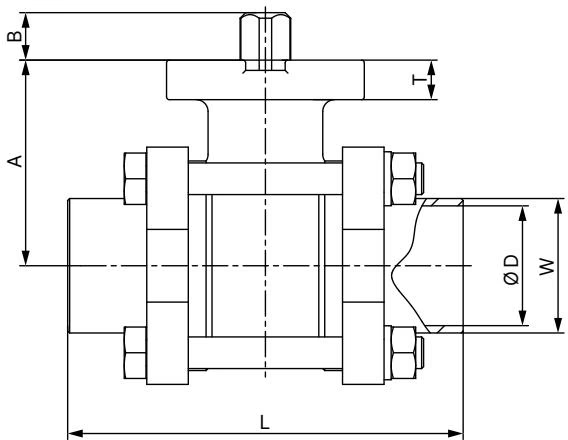
| DN | W [mm] | D [mm] | L [mm] | A [mm] | B [mm] | C [mm] | Interface acc. to ISO 5211 |
|---|---|---|---|---|---|---|---|
| 20 | 28.2 | 20 | 90 | 44 | 9 | 9 | F03/F04 |
(Note: The 773813 model specifically uses a DIN EN ISO 1127 / ISO 4200 / DIN 11866 Series B 26.9x1.6 connection.)
| Torque Type | Value |
|---|---|
| Breakaway torque | 14 Nm |
| Running torque | 9 Nm |
CAUTION: WELDING PREPARATION
To prevent damage to the ball valve and the contained seal, disassemble the ball valve from the pipeline prior to welding.
Disassembling the ball valve for welding:
Note: The heat impact on the seals must not exceed the maximum temperature (+200 °C for the stainless steel valve body). If the seals are exposed to a temperature greater than the maximum temperature during the welding process, all the seals must be replaced with new ones.
Tightening Torques: For DN 20 (Type 2654), the tightening torque of the installation bolts is 20.4 Nm.
The ball valves are maintenance-friendly when operated according to the instructions.
DANGER
Always switch off the pressure and bleed the lines before undoing the lines and valves!
Replacing the ball seal and/or body seal:
Explore similar products in our catalog